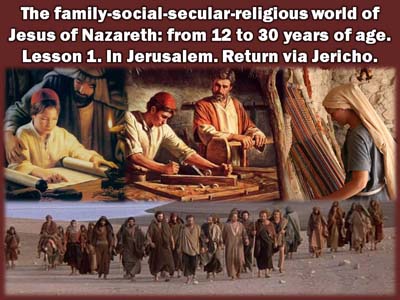
The family-social-secular-religious world of Jesus of Nazareth
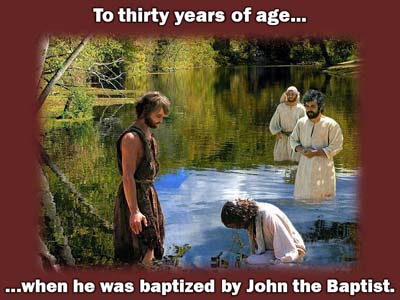
From twelve to thirty years of age.
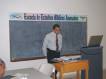
This series of four lessons was prepared for a class of students
twelve to eighteen years old.
Lesson 1
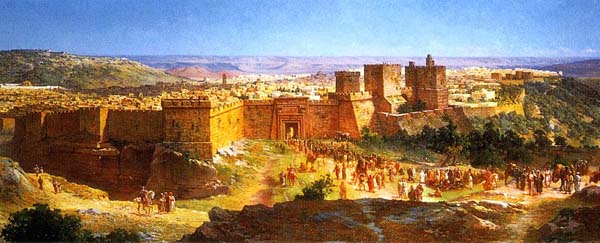
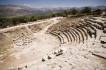
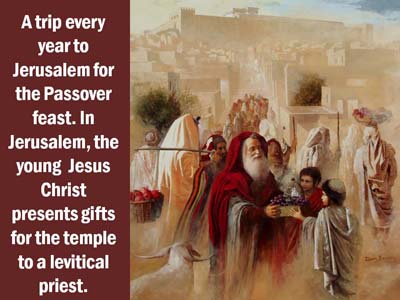
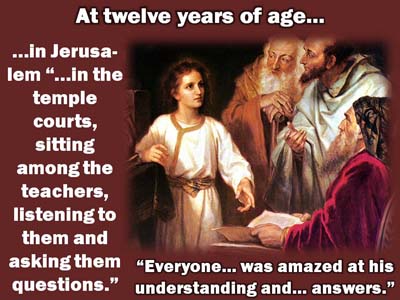
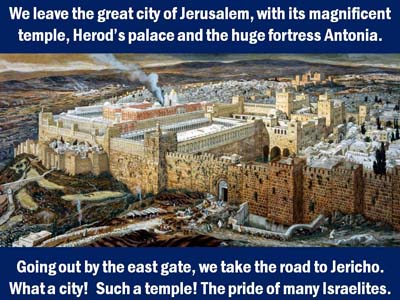
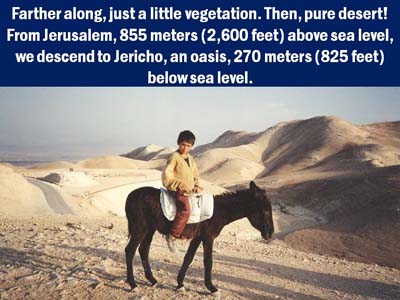
Great numbers of Israelites and proselytes from all over the Roman Empire streaming into Jerusalem for the celebration of Passover. Flavius Josephus says up to three million. “Every year” Joseph, Mary and their family went up from Nazareth to Jerusalem for the same purpose, the young Jesus making the trip with them (Luke 2:41-42).
Moral and spiritual lessons. Plus some history, culture, geography and archaeology.
To broaden the mind, sharpen perceptions and strengthen the spirit.
Notes for the teacher for Lesson 1
Slides for Lesson 1 in Spanish
Instructions on how to use the images, including, detailed steps on making your own
Presentation in PowerPoint, are provided after the Carousel.
Click on any of the images to open the PDF of all the images.
Click on any of the images to open the PDF of all the images.
Click on any of the images to open the PDF of all the images.
Click on any of the images to open the PDF of all the images.
Click on any of the images to open the PDF of all the images.
Click on any of the images to open the PDF of all the images.
Click on any of the images to open the PDF of all the images.
Click on any of the images to open the PDF of all the images.
Click on any of the images to open the PDF of all the images.
Click on any of the images to open the PDF of all the images.
Click on any of the images to open the PDF of all the images.
Click on any of the images to open the PDF of all the images.
Click on any of the images to open the PDF of all the images.
Click on any of the images to open the PDF of all the images.
Click on any of the images to open the PDF of all the images.
Two options for use of the file in PDF for Bible classes or sermons
First option
Directly from the Internet
-You will need access to the Internet in the place where you plan to use the material.
-In addition, a monitor large enough to be seen without difficulty by the people present. Or a digital projector and a surface (screen, white wall) on which to project the images.
Second option
Download the PDF images and prepare your own Presentation in PowerPoint, or program of your choice.
-Advantages
-The projection of each image without other distracting elements.
-Select only the images you wish to use.
-Equipment and programs needed…
-A computer, with MicroSoft PowerPoint installed, or an equivalent program. Take notice: Not the PowerPoint Viewer, but the complete PowerPoint program. Also Adobe Acrobat, or an equivalent program.
-A Digital projector with a connection to the computer.
-A monitor, screen or wall on which to project the images.
-Before downloading the images: Create a Folder in your PowerPoint to receive files to be prepared. For example, a Folder called “young-Jesus-Christ” for this series of studies.
-Within the Folder “young-Jesus-Christ”, create a sub Folder named “Lesson-1.”
-Within the Folder “Lesson-1”, create another Folder named “jpeg-images.” The purpose of this folder is indicated among the remaining steps.
-The Carousel of images on this Page has just two functions: (1) To display the images in a reduced space and in a format that allows their content to be quickly seen. (2) The Carousel serves as a link to the PDF images, with the option to copy them.
-Click on any image in the Carousel to open the PDF of images. Your computer’s speed, plus the type or quality of your connection to the Internet, determines the time it takes to download the images.
-Before taking the next step, be sure to have the Folder “jpeg-images” open. This is the third one you created in PowerPoint.
-Once you have accessed the PDF of the images, right click on any one of them to open the window of options.
-In the options window, click on “Save as”…
-Type of file: Adobe PDF.
-Name of the file: Specify a name, for example… “young-Jesus-Lesson-1-from-Internet.”
-In PowerPoint, double click on the PDF created in the previous steps. Adobe Acrobat opens and loads the images.
-In Adobe Acrobat… go to File… Save as… Image… JPEG.
-When you select JPEG, a window opens asking you to specify where to store the images in the jpeg format. Select the Folder named “jpeg-images” created at the beginning. By clicking “Save,” all the images are saved individually in the designated Folder.
-In PowerPoint, create a new file.
-Then, “Open” the “jpeg-images” Folder. Select the first image, copy and paste it in the first slide, and thus proceed with the rest of the images.
-The jpegs are 2000 x 1500 pixels, but when you paste them in PowerPoint they adjust perfectly to the slide size of 600 x 400, according to my experience.
-You now have your own Presentation!
If you have little or no experience with these procedures, they may seem quite complicated at first, but you will quickly learn them, even by memory, if you use them frequently.
All English site by Homer Dewayne Shappley
Spirit of Prophecies
https://www.spiritofprophecies.com/
Notes for the teacher for Lesson 1
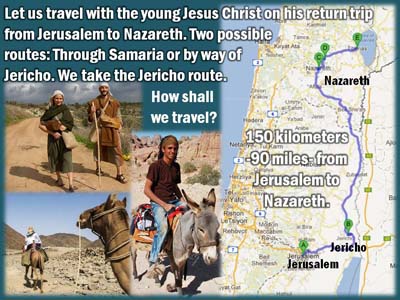
The 12 year old Jesus in Jerusalem. Return to Nazareth via Samaria. Lesson 2 of: The family-social-secular-religious world of Jesus.
Studies in the Bible and related subjects. Articles, tracts and Bible class guides. Slides for PowerPoint. PDF's. On this site. Signs of the times today. Prophecies past, present and future. Moral and social issues. Sound doctrine on the divine plan of salvation and the church.
Tracts to Evangelize and Edify. List, with links. Available as articles and in PDF format for printing as tracts of two, four or six pages. Varied subjects for different uses. Also available in Spanish. Written especially for use by churches of Christ.
Bible prophecies. Past, present and future. Fulfilled, being fulfilled, or to be fulfilled. List of subjects, with links.
Derechos reservados. Permiso concedido para hacer una copia, o múltiples copias pero ninguna para la venta.